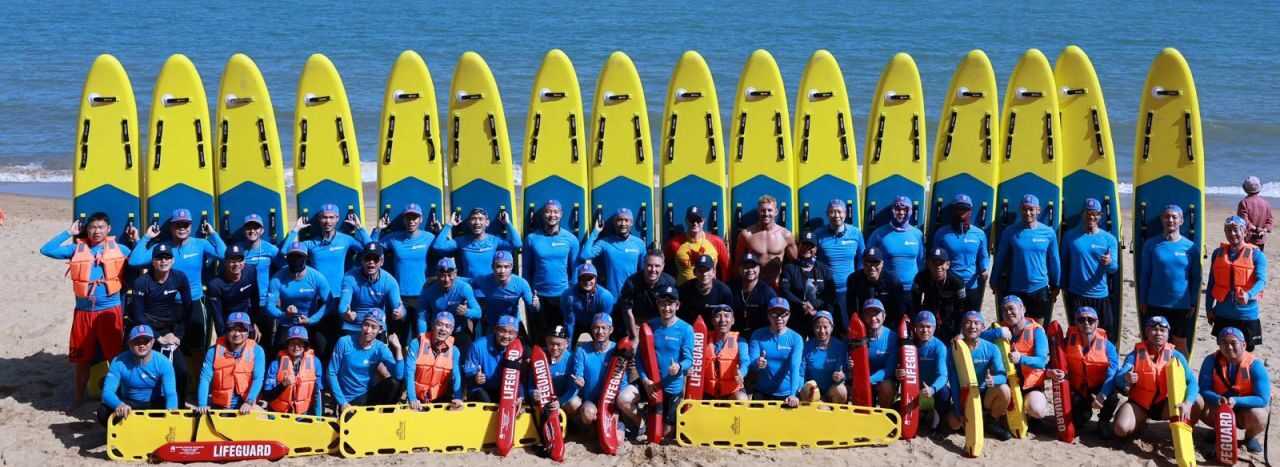
Rescue boards are one of the most heavily used pieces of equipment in any rescue fleet – in fact, roughly 50% of RNLI Beach Lifeguard rescues on the water (in the UK) are carried out using this versatile piece of kit*. Red Rescue inflatable water rescue boards offer ultimate versatility and are the perfect addition to any rescue fleet. Setting them up correctly so they are ready for fast and effective deployment is important. In this blog we take you through how to get the best performance out of your board….
1. Inflate your board to 1 PSI
2. Insert your RSS stiffening battens
3. Inflate to double chamber capacity (5-10psi)
4. Inflate to operational pressure on single chamber and add fin (18-22psi)
Your Red Rescue boards can be stored inflated or packed in their bags. If storing for long periods of time without use (2 months or more). It is best to store the boards deflated or inflated on a solid flat surface.

A Note On Your Pump
Our Titan 2 Pump system is exclusive to Red. It pumps out air at up to 60mph and allows you to easily inflate your board in half the time of alternative pump systems. It is a dual chamber pump, which means that when the resistance gets too high, you can switch down to one chamber to squeeze in those all-important PSI that gives unrivalled performance.
To protect smaller muscle groups and keep lifeguards in tip-top physical condition, the pump is not dual-action (pumping on the way up as well as down), as this increases strain on your back whilst pumping and significantly increases the chance of injury. No one wants the equivalent of a kettlebell work out before a long paddling session.

Step 1 – Inflate your board to 1 psi
You need to get some air into the board so that you can insert the battens into the rails. Here is how you get started:
- Make sure the centre pin on your valve is in the upright position – if it is locked down, all the air will come back out when you remove the hose and you will have to start again.
- Attach the hose to your rescue board and begin inflation. At this point, you want the red Isolation Switch (on the side of the pump) pointing backwards so you are using both chambers.
- You don’t want to put much air in yet, just enough so that the board ‘pops out’ and takes shape. This should take around 80 strokes on the pump, bringing the board roughly to 1 psi – the gauge will not register properly at pressure this low. The board should be soft enough than you can easily squeeze it with your hand still.


Step 2 – Insert your RSS Battens
The orange RSS Battens add up to 40% rigidity to your rescue board, dramatically improving the performance. The pockets are a tight fit to maximise the benefits, so follow these techniques to slide them in:
- Put the board on a rail and slide the tip into the mouth of the pocket.
- Feed the batten into the pocket, 3-6 inches at a time – do not push from the end. If this is proving difficult, try inserting the batten a little way in and firmly pull this from side to side to expand the opening of the pocket.
- There should be up to 2 inches of the batten left protruding at the end. You can either tuck the tag behind the protruding batten end, or if leaving the board inflated for a long time, remove this and keep it safe in your service kit.
- Repeat this process for the batten on the other rail.
The batten pockets will ‘relax’ slightly over time when inflating your board but this can be accelerated by leaving the board fully inflated for a day or two on first inflation. You can also wet the batten to help lubricate and slide in if needed.


Step 3 – Inflate to double chamber capacity (5-10psi)
- Re-attach your inflation hose and carry on pumping with the Isolation Switch in the backwards position.
- Use full strokes on the pump, from bottom to top and as it gets harder to pump, put all your weight through the handle, by locking your arms and bending your knees – rather than just pumping with your arms.
- Depending on your body weight, at some point between 5-10 psi, the pressure will get too much.


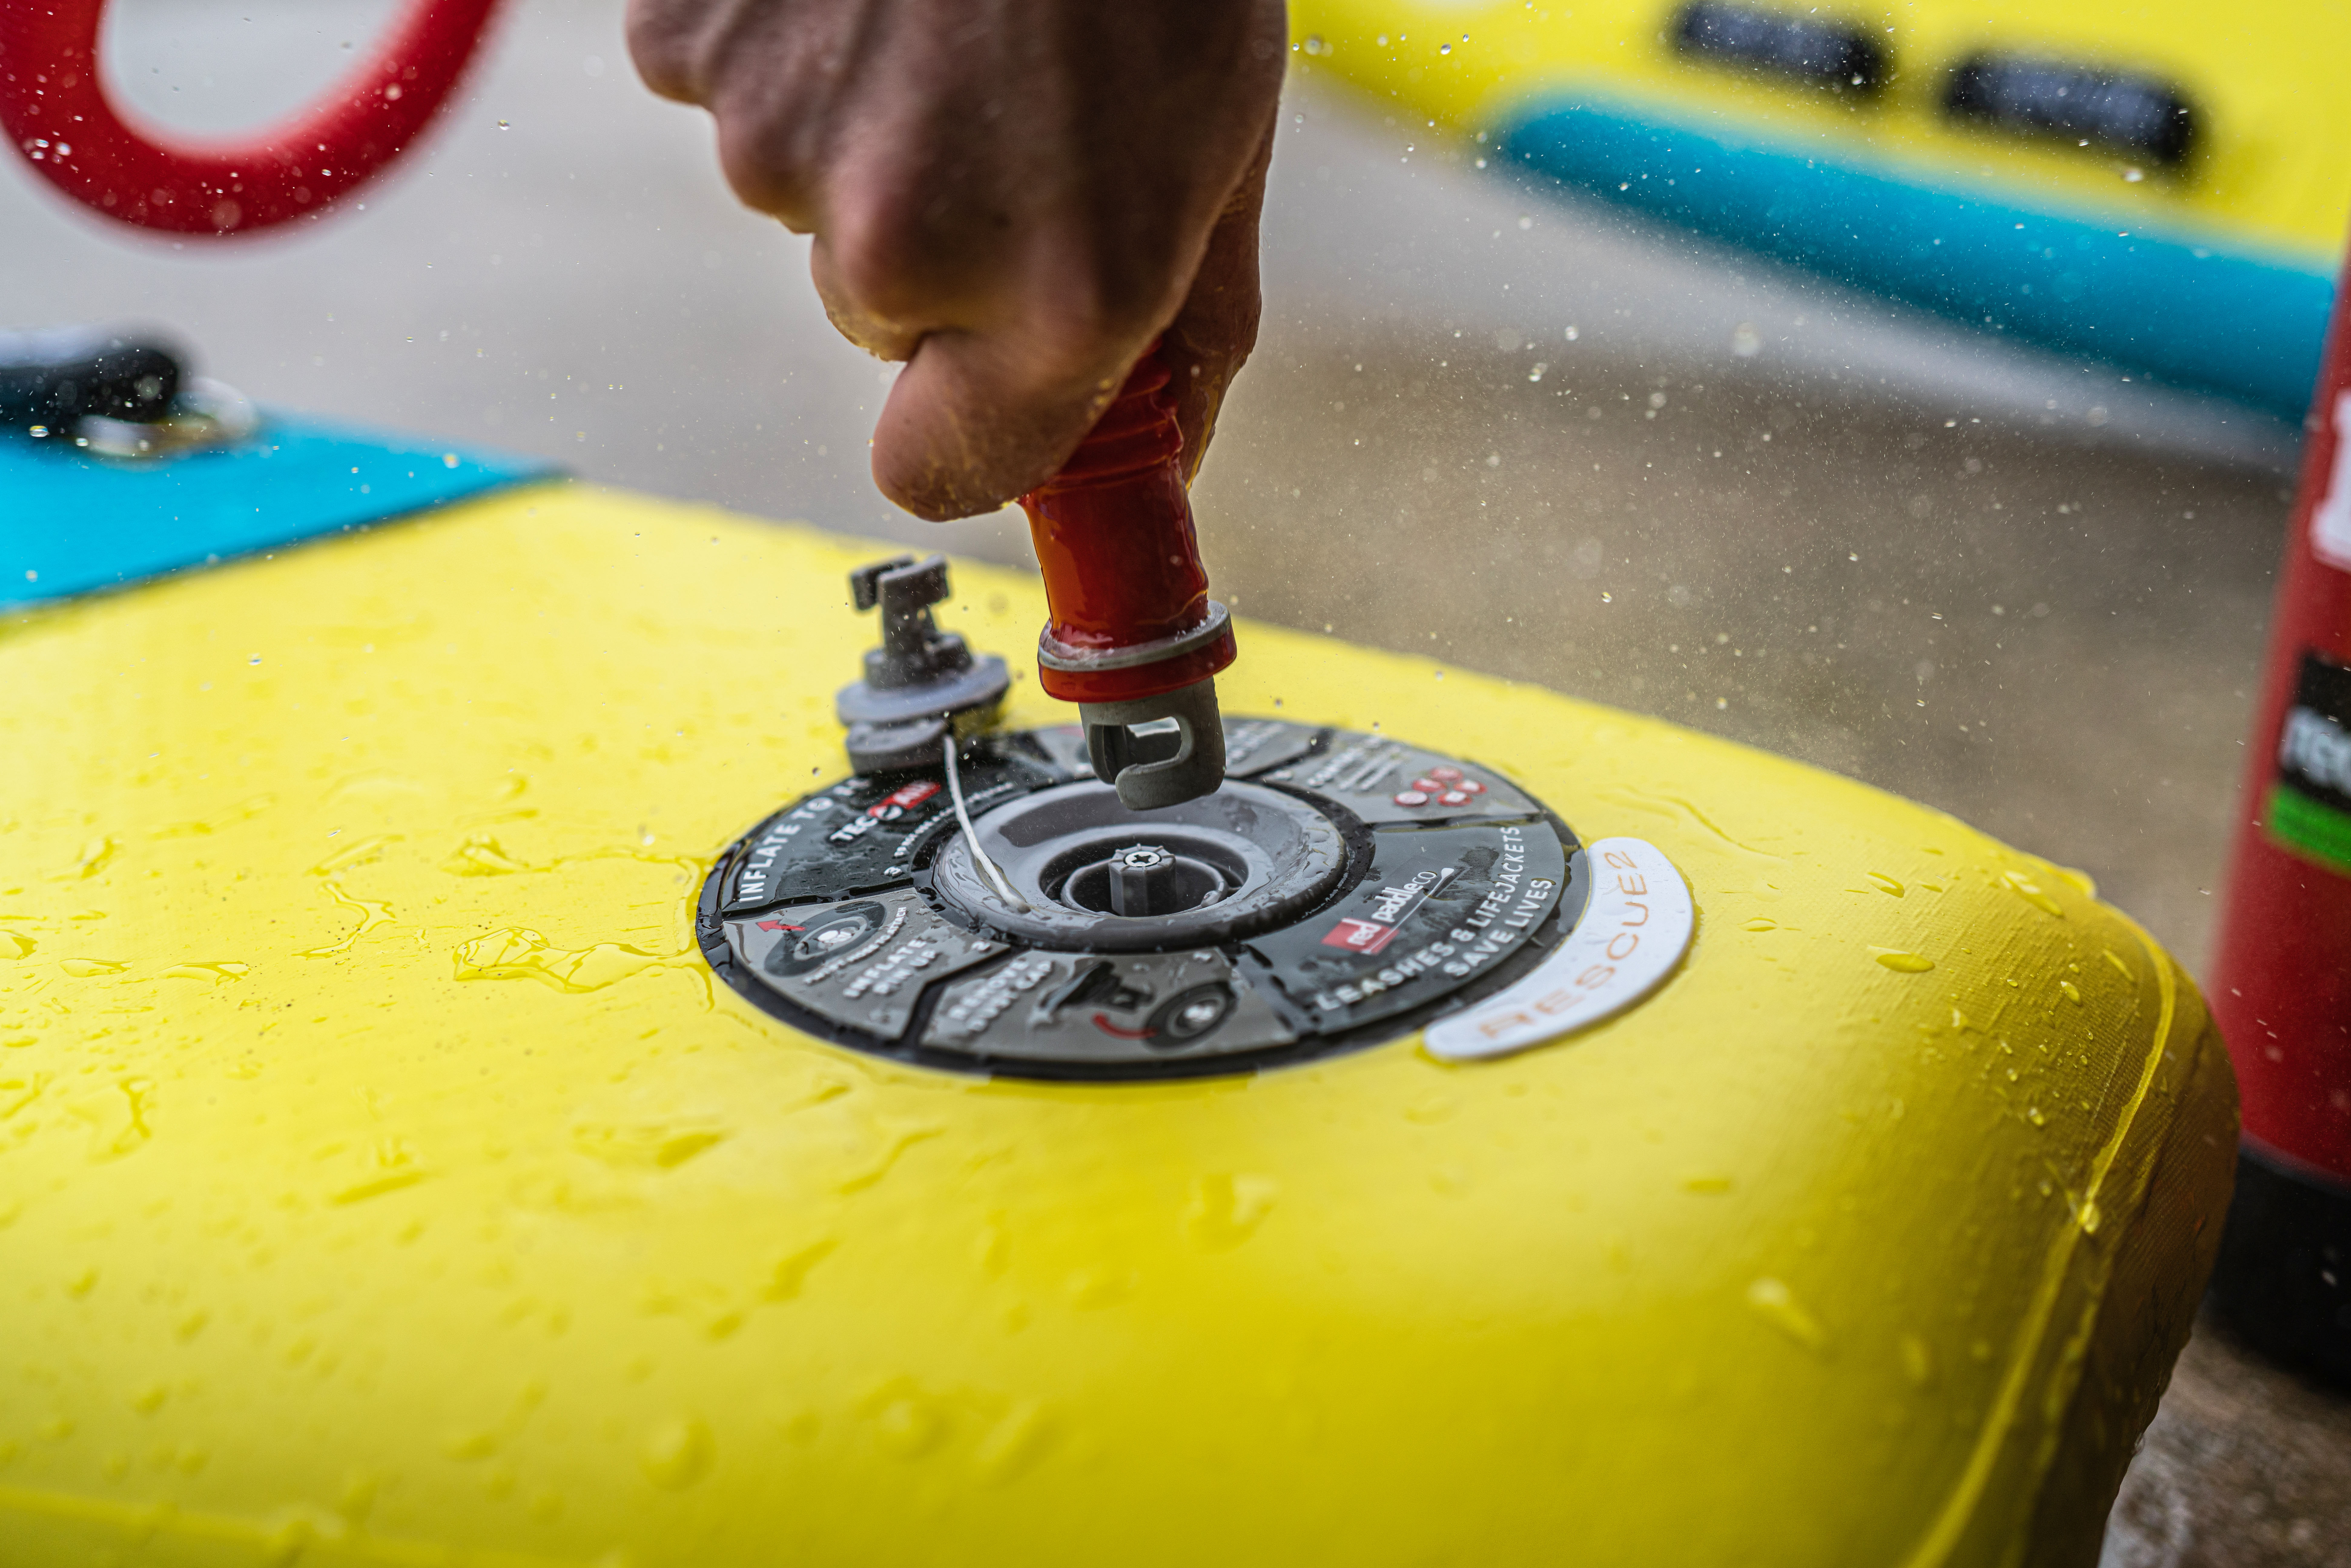
Step 4 – Inflate to operational pressure on single chamber and add fin (18-22psi)
- Push the Isolation Switch forward so that you are now only using the smaller, high-pressure chamber at the front of the pump.
- Continue pumping as before. It is normal for air to now rush out of the middle of the red lever, this is the excess air from the larger high-volume chamber venting out.
- The higher the pressure, the more rigid your board will be and the better the performance: We recommend 18-22 psi depending on your operational needs for the session. Having finished inflating, attach the dust cap.
- Insert your fin into the US fin box using the fin bolt provided (a spare is in your service kit).
- If using a leash, attach this to the stainless steel D-Ring on the rear right carry handle.


When it comes to deflating your board, depress and twist the central valve pin to remove the air before removing the battens. Check out how to best pack away, store and care for your new Red Rescue board here.
Get in touch here if you have any questions and good luck with all of your lifesaving endeavours.

*2018 RNLI Annual report